Best Carousel Library for Next.js
I write about tech. It could be my projects, a framework or anything that interests me.
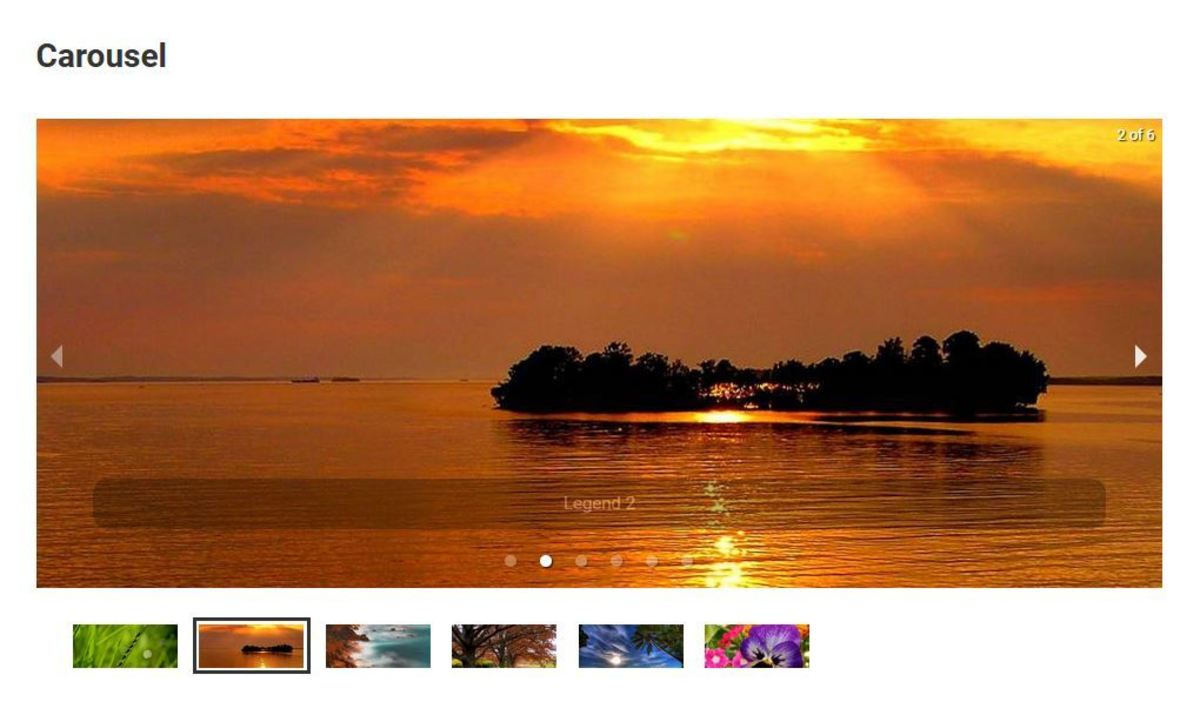
Carousels are a popular way to showcase multiple pieces of content in a limited space, allowing users to easily navigate through the information.
They enhance the look and feel of a site by adding dynamic and interactive elements that can capture users' attention and make the website more engaging.
Carousels can help in presenting different features, products, or images in a visually appealing manner, making the website more visually appealing and user-friendly.
They are often used to highlight key information and create a visually pleasing layout that can improve the overall user experience.
Challenges with using React carousel libraries in Next.js
Next.js, being a popular React framework, has a growing ecosystem of libraries and tools. However, when it comes to carousel libraries, the options are surprisingly limited.
While there are several carousel libraries available for React in general, not all of them are compatible or optimized for use with Next.js.
The unique server-side rendering (SSR) and static site generation (SSG) capabilities of Next.js introduce some challenges when it comes to implementing carousels.
Many carousel libraries rely heavily on client-side rendering and assume a traditional single-page application (SPA) setup, which can lead to issues with hydration, performance, and user experience in a Next.js application.
My favorite carousel library for Next.js

Despite these challenges, there are a few carousel libraries that have been specifically designed or adapted for use with Next.js. One library that stands out in terms of compatibility, performance, and ease of use is Embla Carousel.
Embla Carousel is a lightweight and highly customizable carousel library that has gained popularity in the Next.js community. It is built with a focus on performance, accessibility, and seamless integration with Next.js' server-side rendering capabilities.
In this blog, we'll dive into the details of Embla Carousel and explore how it can be used effectively in a Next.js application. We'll cover topics such as installation, configuration, customization options, and best practices for implementing carousels in a Next.js project.
Whether you're building an e-commerce site, a portfolio, or any other application that requires a carousel functionality, Embla Carousel can be a valuable addition to your Next.js toolkit. Its simplicity, flexibility, and optimization for Next.js make it a standout choice among the limited options available in the carousel library ecosystem for Next.js.
Setup Embla Carousel in a Next.js project
Install the required packages First, you need to install the
embla-carouselpackage and theembla-carousel-reactpackage, which provides a React wrapper for the Embla Carousel library.npm install embla-carousel embla-carousel-reactor
yarn add embla-carousel embla-carousel-reactImport the required components and hooks In your React component where you want to use the Embla Carousel, import the required components and hooks from the
embla-carousel-reactpackage.import useEmblaCarousel from 'embla-carousel-react'If you plan to use the default carousel viewport and slides, you can also import them:
import { EmblaCarouselReact } from 'embla-carousel-react'Set up the Embla Carousel In your React component's function, initialize the Embla Carousel using the
useEmblaCarouselhook. This hook returns an array with two elements:emblaRef(a reference to the carousel instance) andemblaApi(an object containing methods to control the carousel).const [emblaRef, emblaApi] = useEmblaCarousel()Create the carousel markup Use the
emblaRefreturned from theuseEmblaCarouselhook to create the carousel markup. TheemblaRefshould be attached to the carousel container element using therefattribute.<div className="embla" ref={emblaRef}> <div className="embla__container"> {/* Your carousel slides go here */} </div> </div>If you're using the default carousel viewport and slides provided by the library, you can use the
EmblaCarouselReactcomponent:<EmblaCarouselReact> <div>Slide 1</div> <div>Slide 2</div> {/* Add more slides as needed */} </EmblaCarouselReact>Configure the carousel options (optional) Embla Carousel provides various options to customize the carousel behavior. You can pass these options as an argument to the
useEmblaCarouselhook.const options = { loop: true, dragFree: true } const [emblaRef, emblaApi] = useEmblaCarousel(options)Refer to the Embla Carousel documentation for a list of available options and their descriptions.
Control the carousel (optional) If you need to control the carousel programmatically (e.g., navigate to a specific slide, start/stop autoplay), you can use the
emblaApiobject returned from theuseEmblaCarouselhook. It provides methods likeemblaApi.scrollNext(),emblaApi.scrollPrev(), and others.// Example: Navigate to the next slide emblaApi.scrollNext()Refer to the Embla Carousel API documentation for a complete list of available methods.
That's it! With these steps, you have successfully set up Embla Carousel in your Next.js project. You can now customize the carousel further by styling it with CSS or modifying the component markup to suit your needs.
Written with ❤️ Any kind of support would be appreciated.
const engageWithBlog = (reaction) => {
 if (reaction === 'happy') {
   leaveComment();
 } else if (reaction === 'loved') {
   shareWithFriends();
 } else if (reaction === 'mind_blown') {
   reactWithEmoji('🤯');
 } else {
   console.log('Thanks for reading!');
 }
};


